Acoustic wood panels are more than just useful; they demonstrate the ability of well-designed, sustainable materials to improve both the auditory and visual landscape. They are also easy to install and maintain—an affordable and eco-friendly choice for any home.
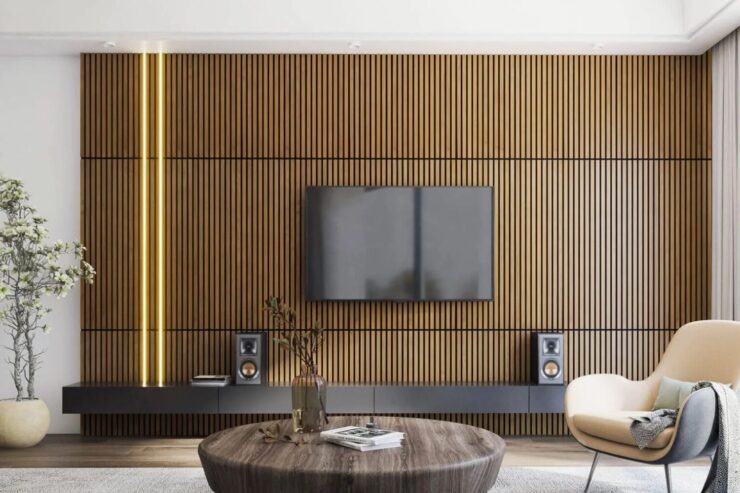
The enchantment of acoustic wood panels is the power to completely transform a space while elevating the sound quality and infusing a rustic charm. Take a moment to imagine stepping into that room, you can feel a cozy atmosphere resounding.
In the right direction, you will be surprised at how easy and satisfying this “how to install acoustic wood panels” project can be. We’ll guide you through each stage of the procedure. Prepare to have your area transformed by the acoustic wood panels’ charm.
Selecting the Perfect Acoustic Wood Panels
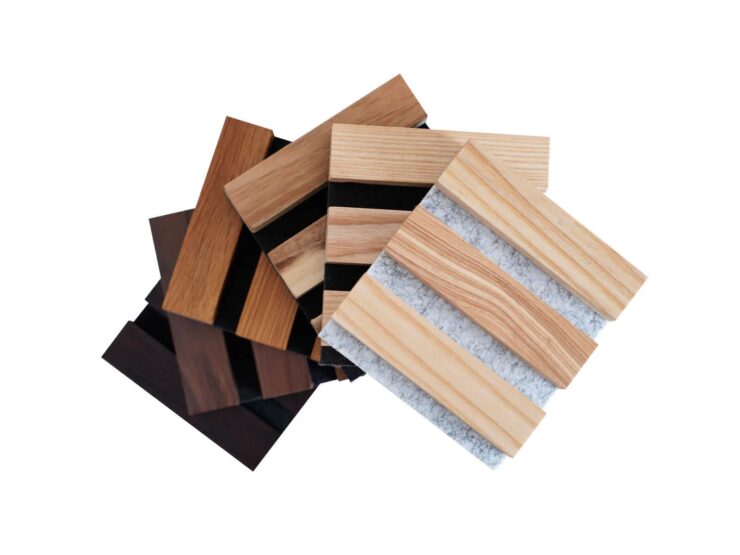
There’s always an acoustic wall panel to fit every style and setting. From the sleek, contemporary elegance of polished finishes to the naturally rich and rustic wood-tone beauty. You can quickly find the ideal match for your area as acoustic panels are available in a broad variety of sizes, styles, and wood kinds.
Choosing the right acoustic wood panels is crucial because they can
- Improve soundproofing by absorbing and dispersing sound
- Enhance the immersive listening experience
- Promote productivity and comfortable environments
- Seamlessly integrates with your interior decor
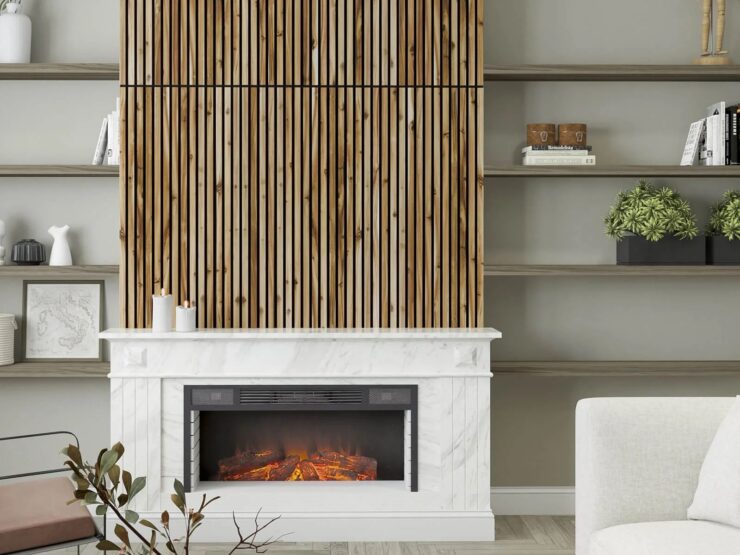
Before finding out how to install acoustic wood panels, the first thing you should do when starting an acoustic panel project is to decide on the style and feel you desire. Are you expecting an elegant, minimalist look or a warm, cabin-inspired setting?
The real magic occurs when you combine the ideal acoustic qualities with your preferred aesthetic. Examine your room for a moment and note any locations that can benefit from some sound restoration. Then, you can choose acoustic wall panels that improve your décor and change your perception of sound.
Preparing Your Space for the Installation
Importantly, you should spend a few minutes to properly prepare your area before starting the installation procedure. After all, a good project may be achieved with a little bit of planning.
To begin with, take out your reliable measuring tape and set it to work. Measure the wall area carefully where you want to put the acoustic wood panels. Take note of any obstructions or special characteristics that could affect the arrangement.
After you have those measurements, you can lay out the panels to be smooth and visually attractive.
Next, collect your supplies and tools. A level, glue, and any other required personal protection equipment should be kept handy. Always put safety first, so be sure you put on your gloves, goggles, and other necessary equipment.
Now, you’re ready to install wood panels.
Step-by-Step Installation Guide
So, how to install acoustic wood panels? The simple procedure is as follows.
-
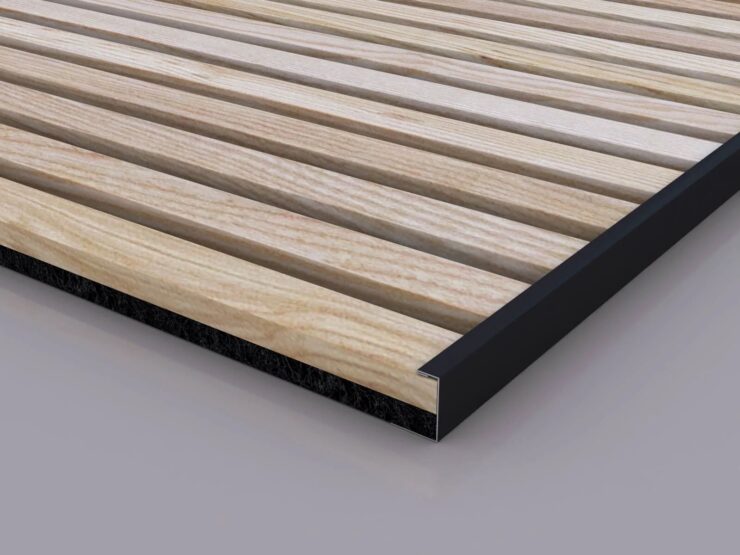
Cut the acoustic panels to size
Make sure your acoustic wood panels are perfectly fitted into the allotted wall area.
Once again, measure the space, and cut the panels to size using a saw. To prevent any serious mistakes, take your time and make sure the measurements are correct.
-
Secure the panels
Now that your panels are the ideal size, it’s time to hang them. If you’re employing adhesive-based installation, apply a liberal bead of the suggested glue on the back of each panel.
Press the panel firmly into place after aligning it with your pre-marked parameters. Alternatively, for a stronger and more secure hold, you might use screws or nails to secure the panels to the wall.
-
Fill in any visible gaps
There can be tiny spaces or uneven surfaces when you install the panels. Relax, these are simple to solve!
To fill in small gaps or cracks, just run a premium sealant along the seams and smooth it out with your finger or a putty knife. To cover wider gaps or uneven sections, use wood filler or a comparable compound to reinforce the surface.
Shim the panels to keep everything level and fill up any gaps left by persistent dents or bumps by tucking little wood or cardboard strips under them.
It’s normal to run across some bumps on the road while doing things yourself, so don’t give up!
If a panel does not attach adequately, wipe the wall surface or use a stronger adhesive. If you see any ugly gaps, don’t panic; patience and a little glue can fix them.
To guarantee that your acoustic wood panel installation is done correctly, always double-check your work. Additionally, don’t be reluctant to ask for help when you need it.
Maximizing the Acoustic Benefits
Proper acoustic wood panel placement significantly enhances your room’s acoustics and provides a soothing and sound-absorbing atmosphere.
Prioritize sound absorption and diffusion by carefully placing the panels in those places first. Good places to concentrate are alcoves, parallel walls, and corners. Try several setups until you identify the ideal location for producing the rich and enveloping sound you want.
The acoustic wood panels can be used with additional sound-dampening devices, such as ceiling baffles or acoustic drapes. Combining these components may improve your pleasing space.
For the right acoustic balance, don’t hesitate to add or remove them or rearrange the panels. With a little creativity and perseverance, you can convert your place into a sound den.
Personalize and Enjoy Your Transformed Space
Step back and allow yourself to improve your room with your imagination. We recommend adding eye-catching artwork, ornamental accessories, or other unique touches that represent your distinct personality.
Decorating it with your personalized pieces, you’ll convert the area into a real reflection of your taste in design.
Embrace the DIY Acoustic Wood Panel Adventure
Now, how to install acoustic wood panels is no longer your struggle. Grab your tools, select your acoustic wood panels, and create incredible wood walls.
Creating a harmonic living space is as simple as correctly arranging the panels so they’re sound-absorbing and diffusing. Then infuse your creative signature. Ultimately, you have a room that perfectly captures your own style while sounding amazing.
If you want to take your acoustic makeover to the next level, the WoodyWalls team is ready to help. We will guide and work tirelessly to transform your space into perfection.